Wanna see how I transformed my chair into this beauty?
Well, it all started out like this. A $3 chair from Goodwill - great lines, interesting detail, but in need of a refresh! And since it is my FIRST TIME recovering and painting a chair -- totally by myself -- I thought it best to start out with a $3 chair {and $50/yard fabric, of course!}
 |
| I was really tempted to keep the fabric...JUST KIDDING! That fabric screams what was so ugly about the 80s {or maybe the early 90s!}. |
 |
| I bought this chair in February, but it's sat in my garage since because too many other projects were more pressing. |
 |
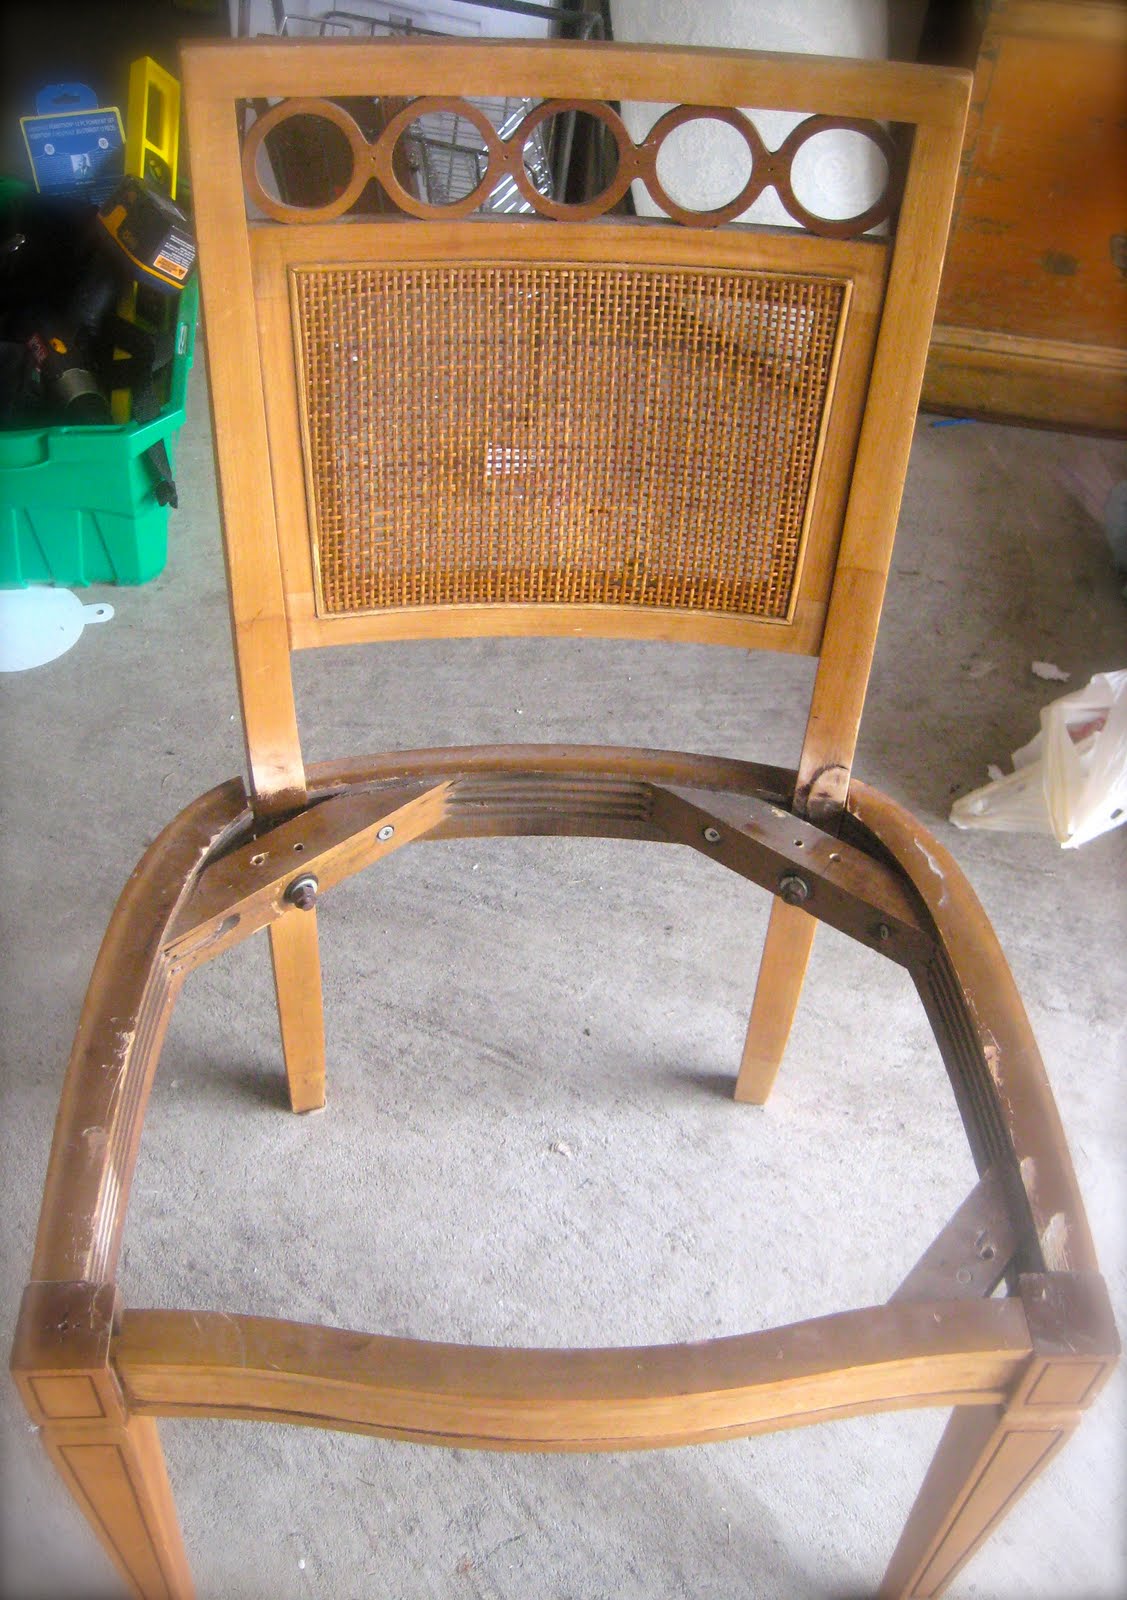
| I started by removing the seat -- easy to do. I noticed the chair wasn't in the best shape, but it was only $3 and it's sturdy enough. I guess I could have taken the time to sort out how I could reinforce it, but seriously, that's not my style. I have a quick and dirty decorating personality. And after months, I wanted this chair done ASAP! |
 |
| Next I sanded the chair down with my handy, dandy sandpaper, all the while listening to music and texting friends on my iPhone. I then gave it a few good coats of RustOleum's Painter's Touch Ultra Cover 2x in Gloss White, also known as my BFF. Seriously, this is AWESOME spray paint. It covers well and evenly with few coats of paint. While the chair was drying, I removed the fabric off the seat - be sure to save the fabric because you'll need it as a template! | | |
|
|
 |
| Image via RustOleum - click here for more info! |
 |
| Then around 11:30pm, this is how it ended up. It was getting late, but the NHL playoffs were going into overtime, so why not just finish it! |
 |
| So I grabbed my new DwellStudio fabric and got to work on the seat cushion. I probably should have taken more photos, but I was distracted by the hockey game and I was super focused on getting the seat done -- I told you I like this done quickly, right? Anyway, I laid out the old fabric on the new material to {roughly!} cut out the pattern. I added some new padding to the seat, and stapled it like I was wrapping a present. And voila! Mission Accomplished. |
 |
| Say good-bye to the ugly fabric... |
 |
| ...and Hello to fabulous! |
 |
| Gratuitous shots of my new chair in another room with darker walls... |
 |
| ...and yet another shot with some natural light. |
I hope you enjoyed my little chair makeover! What projects are you working on with paint? I'd love to see them! Leave me a comment below with a link, and I'd love to check it out!


1 comments:
Your chair turned out amazing. Great job! Thank you so much for using Rust-Oleum to transform your chair. Have a great weekend!
- Rust-Oleum Scott
Post a Comment